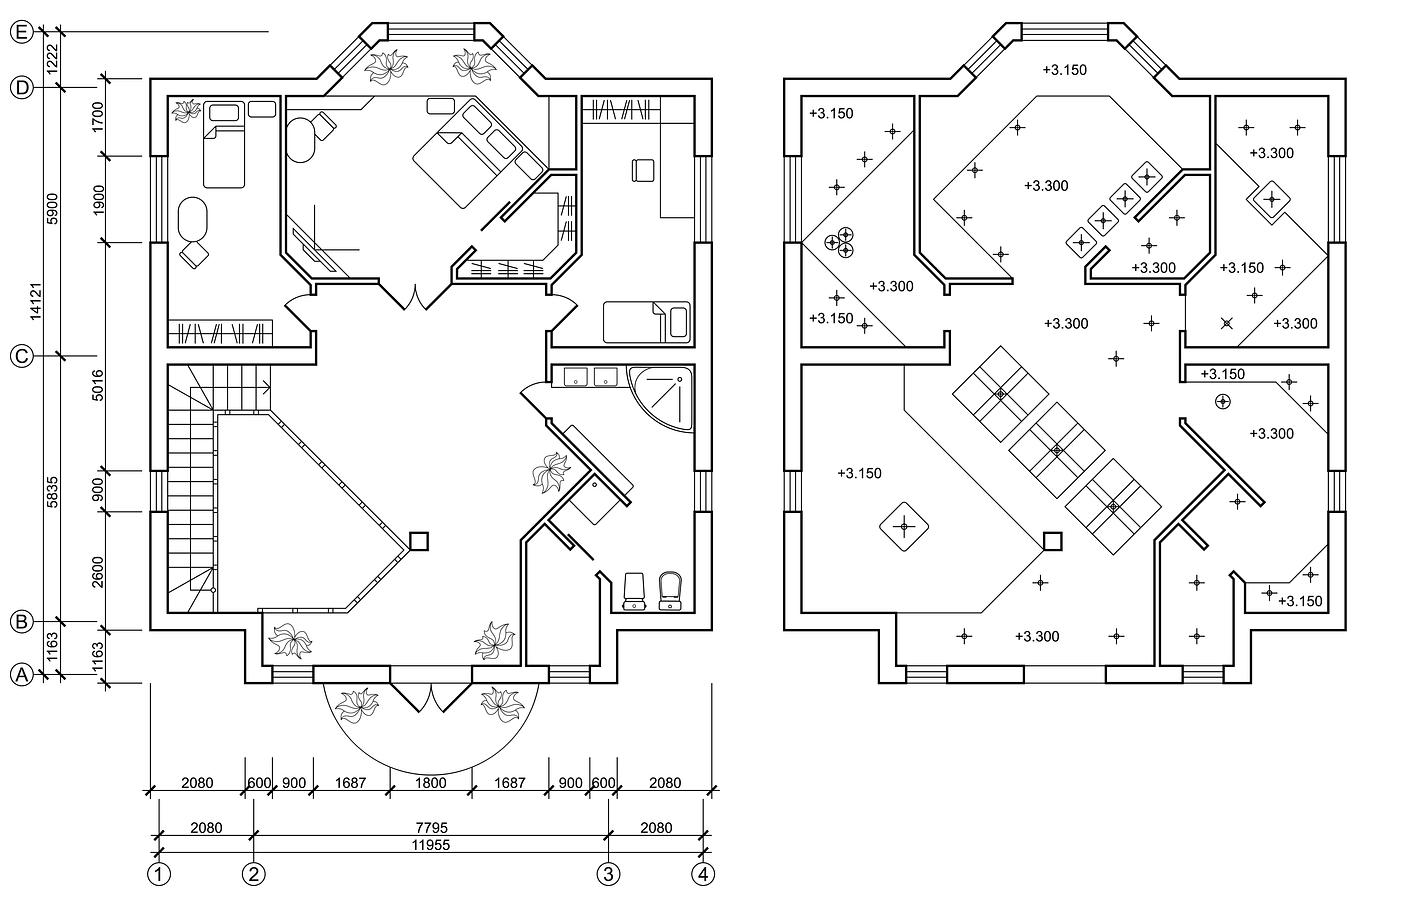
Recessed Lighting Installation: 2025 Best Practices Guide
Posted on Thursday May 01, 2025 at 05:11PM in Product News
Recessed Lighting Install Guide 2025
Why This Guide Exists
Callbacks kill profit. Job-site audit found that crews using a pre-install checklist reduced change orders by 25 percent. That checklist is in this guide—tight, code-backed, and tested in crawlspaces, sloped lids, and every half-finished ceiling you'll come across.
Recessed Lighting 101 (Quick Reference)
| Part | What It Does | Pro Tip |
|---|---|---|
| Housing (can) | Protects wiring and LED module | Choose IC/AT-rated when insulation is present |
| Trim | Manages glare and beam spread | 90+ CRI baffle trims help colors pop in kitchens |
| LED module | Converts power to light | Integrated kits mean fewer SKUs and fewer failures |
Why Layout and Specs Matter
| Risk | What Goes Wrong | What It Costs You |
|---|---|---|
| Spacing too tight | Dead zones, uneven lighting | Repainting, recutting |
| Non-IC can in attic | Overheating, fire hazard | Liability, fixture swap |
| Skipped air seal | Cold drafts | ~$50/year/home energy loss ([ICC Digital Codes][1]) |
| Trim/module mismatch | Flicker, dimmer issues | Lost customer trust |
| Bad aiming | Wall shadows | Delays and punch-list headaches |
Choosing the Right Housing
Ceiling Access
Open joists? Use new-construction cans
Finished lid? Use remodel cans
IC or Non-IC
IC-rated cans are required where insulation touches the housing (NEC 410.116, [WAC Lighting][2])
Non-IC cans need 3 inches of clearance—usually not practical in attics
Airtight (AT)
IECC requires ≤ 2 cfm at 75 Pa for conditioned spaces ([ICC Digital Codes][1])
Look for the UL 1598 “AT” marking ([UL Solutions][3])
LED Engine
Retrofit kits drop into old cans and cut wattage by up to 80 percent
Integrated housings are ready for Title 24 and DLC specs
Layout in Three Numbers
Spacing Rule – Keep cans half the ceiling height apart (8 ft lid → 4 ft spacing)
Perimeter Rule – First row should land 3 ft from walls for even coverage
Task Zones – Add direct overhead light above sinks, cooktops, and workbenches
Selection Workflow
| Step | Action | Checkpoint |
|---|---|---|
| 1 | Identify ceiling type | Choose new-construction or remodel housing |
| 2 | Check for insulation | Use IC/AT if insulation is present |
| 3 | Sketch your layout | Apply spacing and perimeter rules |
| 4 | Pick trim and CRI rating | Use 90+ CRI in kitchens, galleries |
| 5 | Confirm dimmer compatibility | LED drivers must comply with UL 8750 ([RAB Lighting][4]) |
| 6 | List code compliance in your bid | Include IC, AT, UL, and DLC/Title 24 where needed |
Install Process: Start to Finish
Tools You’ll Need
Hole saw (4, 5, or 6 inch), non-contact tester, 14 or 12 AWG NM-B cable, PPE, fire-rated sealant, LED-compatible dimmer.
Steps
Shut off breaker and verify power is off
Mark and cut openings using the template
Run NM-B cable—secure within 12 inches of each box and every 4.5 ft (NEC 334.30, [Electrical License Renewal][5])
Make connections: hot-to-hot, neutral-to-neutral, and ground
Install housing, making sure it's flush and clips are engaged
Seal air gaps with fire-rated caulk
Label circuit and date
Turn power on, then test for flicker and hot spots
Need a second opinion? Revco counter pros average 12+ years in the field. Give us a call before you cut.
Troubleshooting Reference
| Symptom | Likely Cause | Fix |
|---|---|---|
| No light | Loose splice or tripped breaker | Reconnect wires, reset breaker |
| Flicker | Incompatible dimmer | Replace with LED-rated dimmer |
| Overheating | Non-IC can in insulated space | Replace with IC-rated housing |
| Draft | Missed seal | Apply fire-rated caulk |
| Uneven wash | Poor spacing | Add or reposition fixtures |
Crew Q&A
Can I install on a vaulted ceiling?
Yes, with slope-rated housings.
What size hole saw do I need?
Check the spec sheet. Common sizes: 4-7/8 in for 4 in trims, 6-1/4 in for 6 in trims.
Can one switch handle eight cans?
Yes, as long as the total VA stays below the breaker rating (e.g., 15 A = 1,440 W at 120 V).
Why is it buzzing at low dim?
You’re mixing a triac dimmer with a 0–10 V driver. Swap the dimmer.
Code References
| Requirement | Code Source |
|---|---|
| IC rating | NEC 410.116 ([WAC Lighting][2]) |
| NM-B cable support | NEC 334.30 ([Electrical License Renewal][5]) |
| Airtight cans | IECC R402.4.5 ([ICC Digital Codes][1]) |
| LED dimmer safety | UL 8750 ([RAB Lighting][4]) |
| Fire-seal penetrations | IRC R302.11 |
Material Checklist
Remodel or new-construction IC/AT cans
UL-listed LED modules (DLC preferred)
90+ CRI baffle trims
LED-rated dimmers
14/2 or 12/2 NM-B cable
Hole saws: 4, 5, 6 inch
Fire-rated caulk and job labels
PPE and voltage tester
Recap
Start with layout: half-height spacing, 3 ft from walls
Only use IC/AT when insulation is present
Match dimmers and drivers to avoid flicker
Air-seal every fixture to pass blower door tests
Include code references in your bids—end the debates before they start
Need Help with Specs or Materials?
Revco Lighting & Electrical Parts Supply
Serving Long Island since 1978. Six locations. Real people still answer the phone.
Call your local branch or explore the Recessed Lighting section online.
Revco—built for pros

Tags: #electricaltips #homeimprovement #lightinginstallation #recessedlighting